Jython - NetBeans Plugin and Project
Python and Jython support for NetBeans is available via the nbPython plugin. Download the plugin from following URL - http://plugins.netbeans.org/plugin/56795. Unzip the downloaded archive in some folder. For example - d:\nbplugin. To install the NetBeans Plugin, let us follow the steps given below.
Step 1 − Start the Netbeans IDE and then go to Tools/Plugin to open the Plugin Manager. Choose ‘Downloaded’ tab and browse to the folder in which the downloaded file has been unzipped. The NetBeans window will appear as shown below.
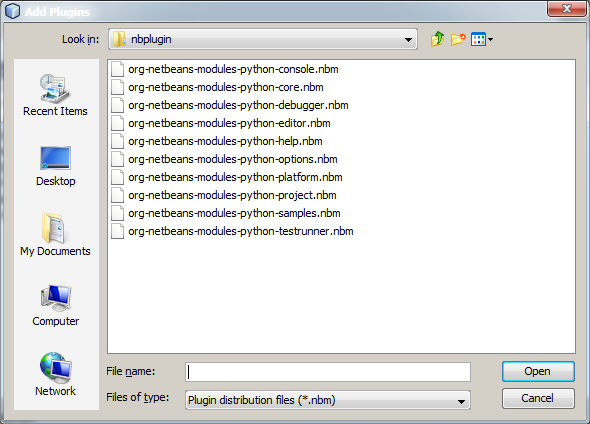
Step 2 − The next step is to select all the .nbm files and click open.
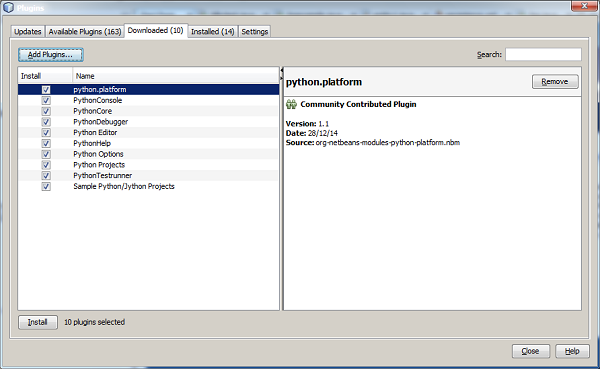
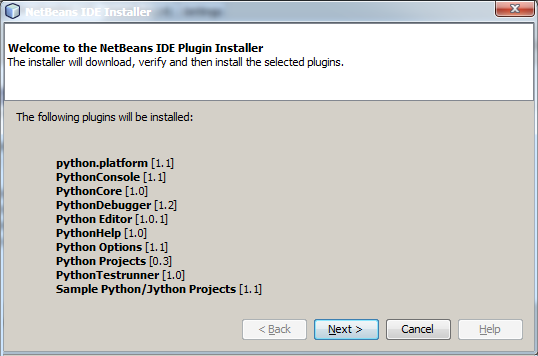
Step 3 − Click on the Install button.
Step 4 − Accept the following license agreement to continue.
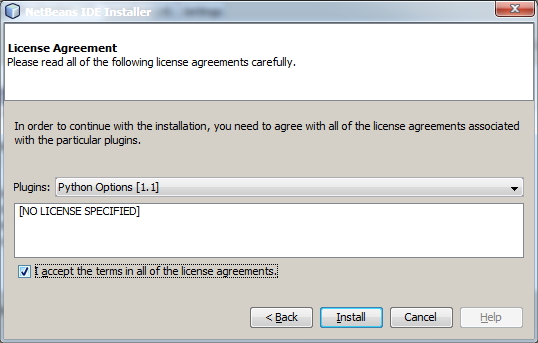
Ignore the warning about untrusted source of plugins and restart the IDE to proceed.
Jython Project in NetBeans
Once restarted, start a new project by choosing File/New. Python category will now be available in the categories list. Choose it to proceed.

If the system has Python installed, its version/versions will be automatically detected and shown in the Python platform dropdown list. However, Jython will not be listed. Click on the Manage button to add it.

Click on the ‘New’ button to add a platform name and path to Jython executable.
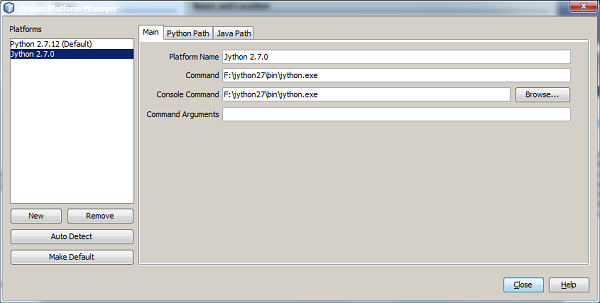
Jython will now be available in the platform list. Select from the dropdown list as shown in the following screenshot.
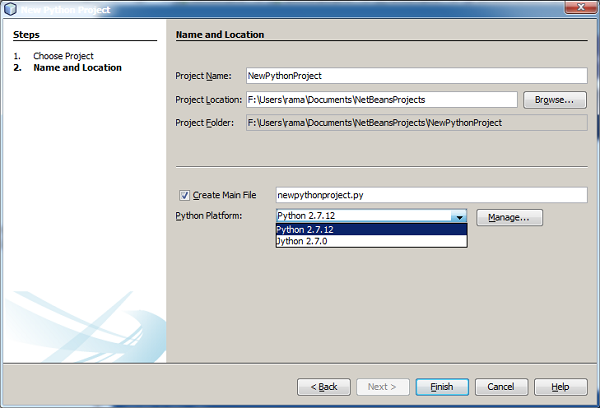
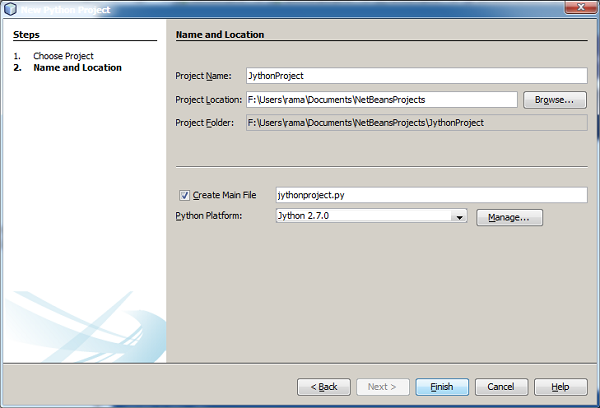
We can now fill in the project name, location and main file in the next window.
The project structure will appear in the projects window of the NetBeans IDE and a template Python code in the editor window.

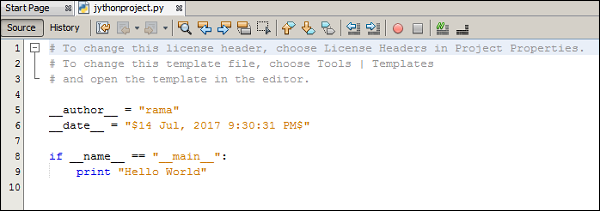
Build and execute the Jython project to obtain the following result in the output window of the NetBeans IDE.
No comments:
Post a Comment